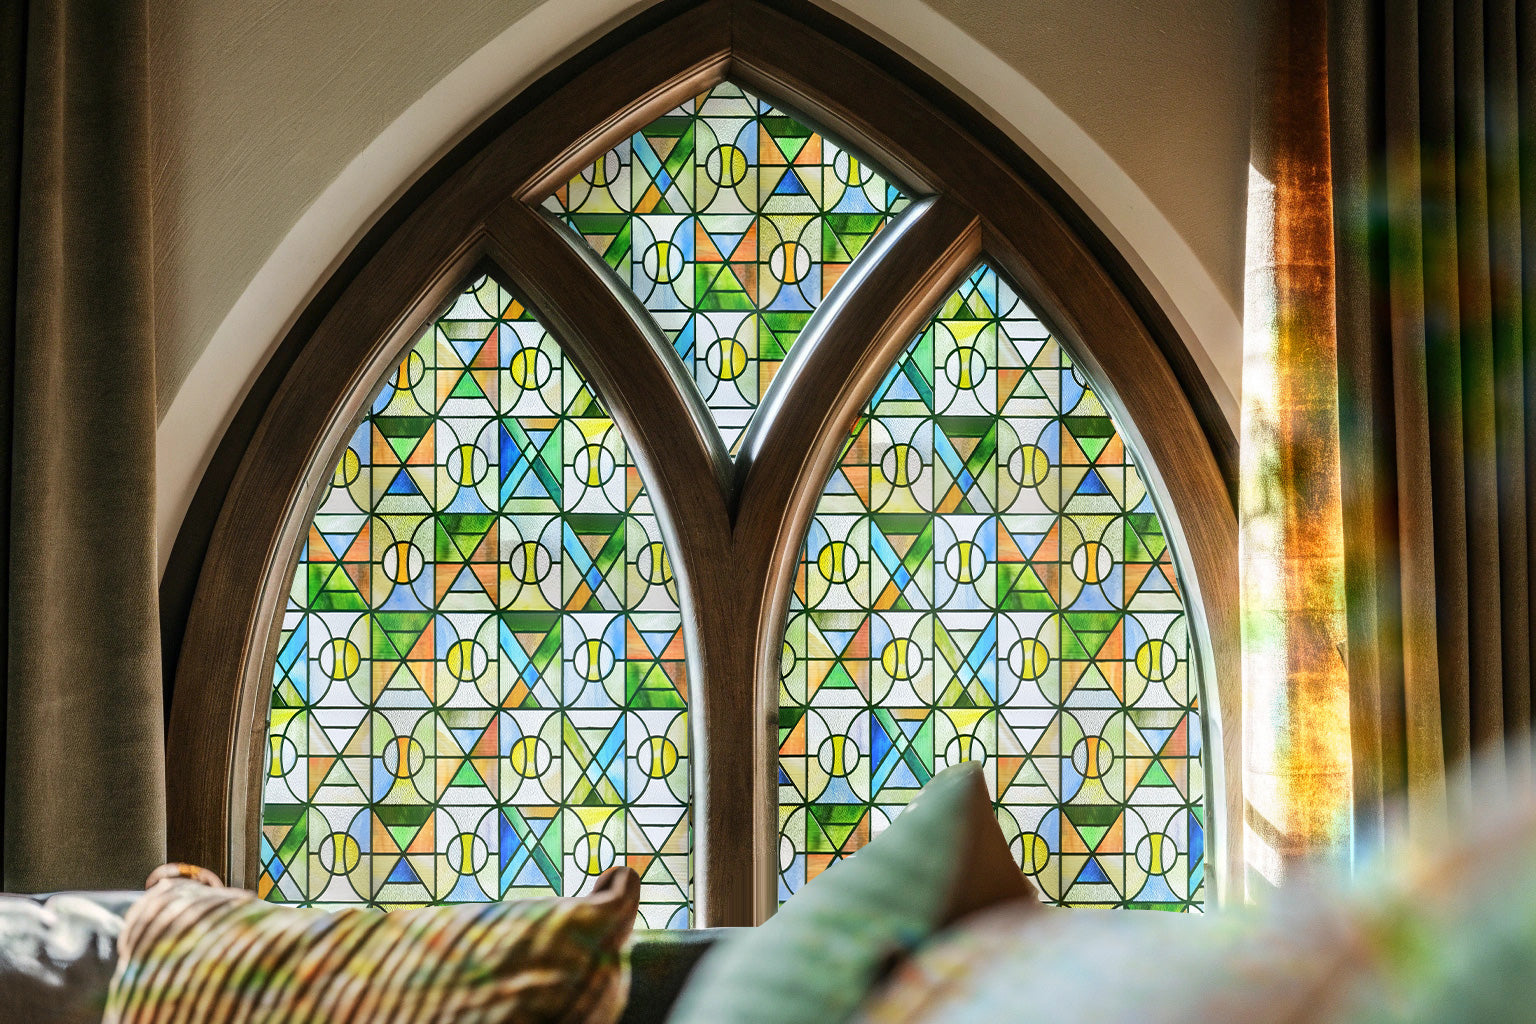
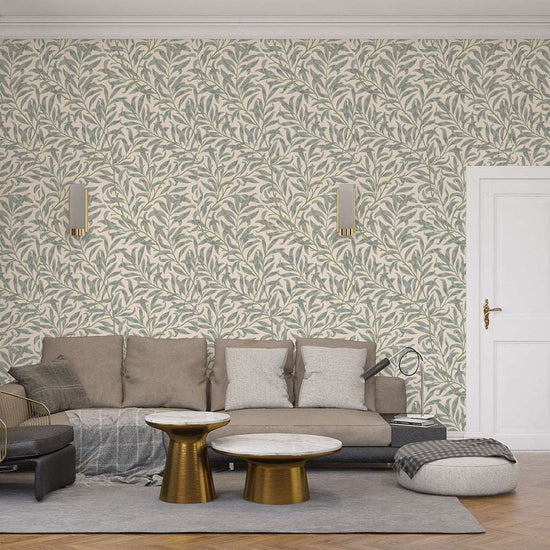
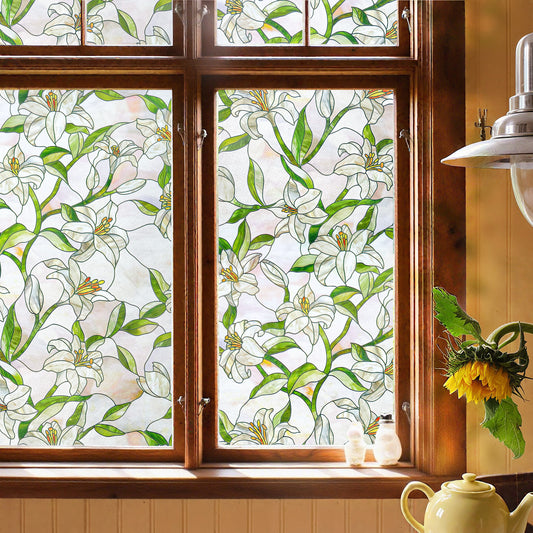
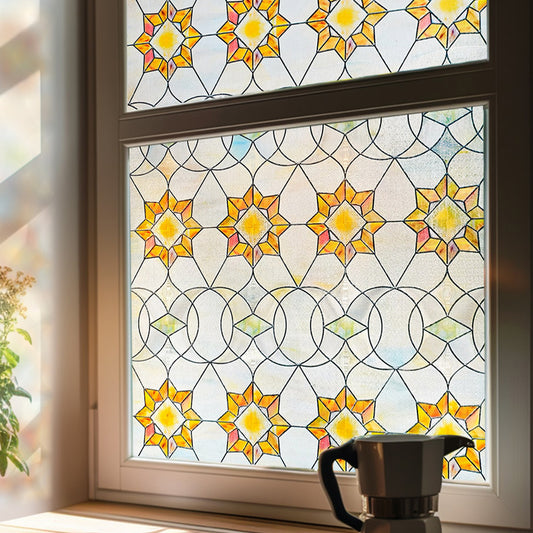
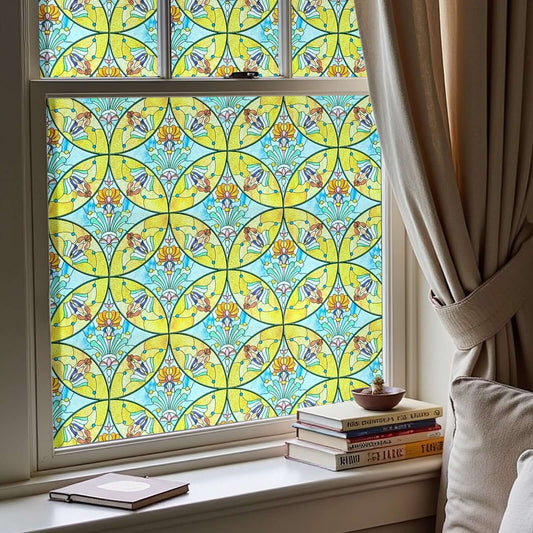
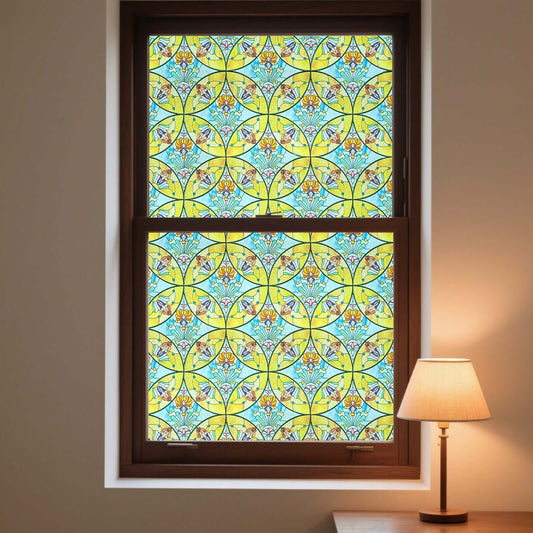
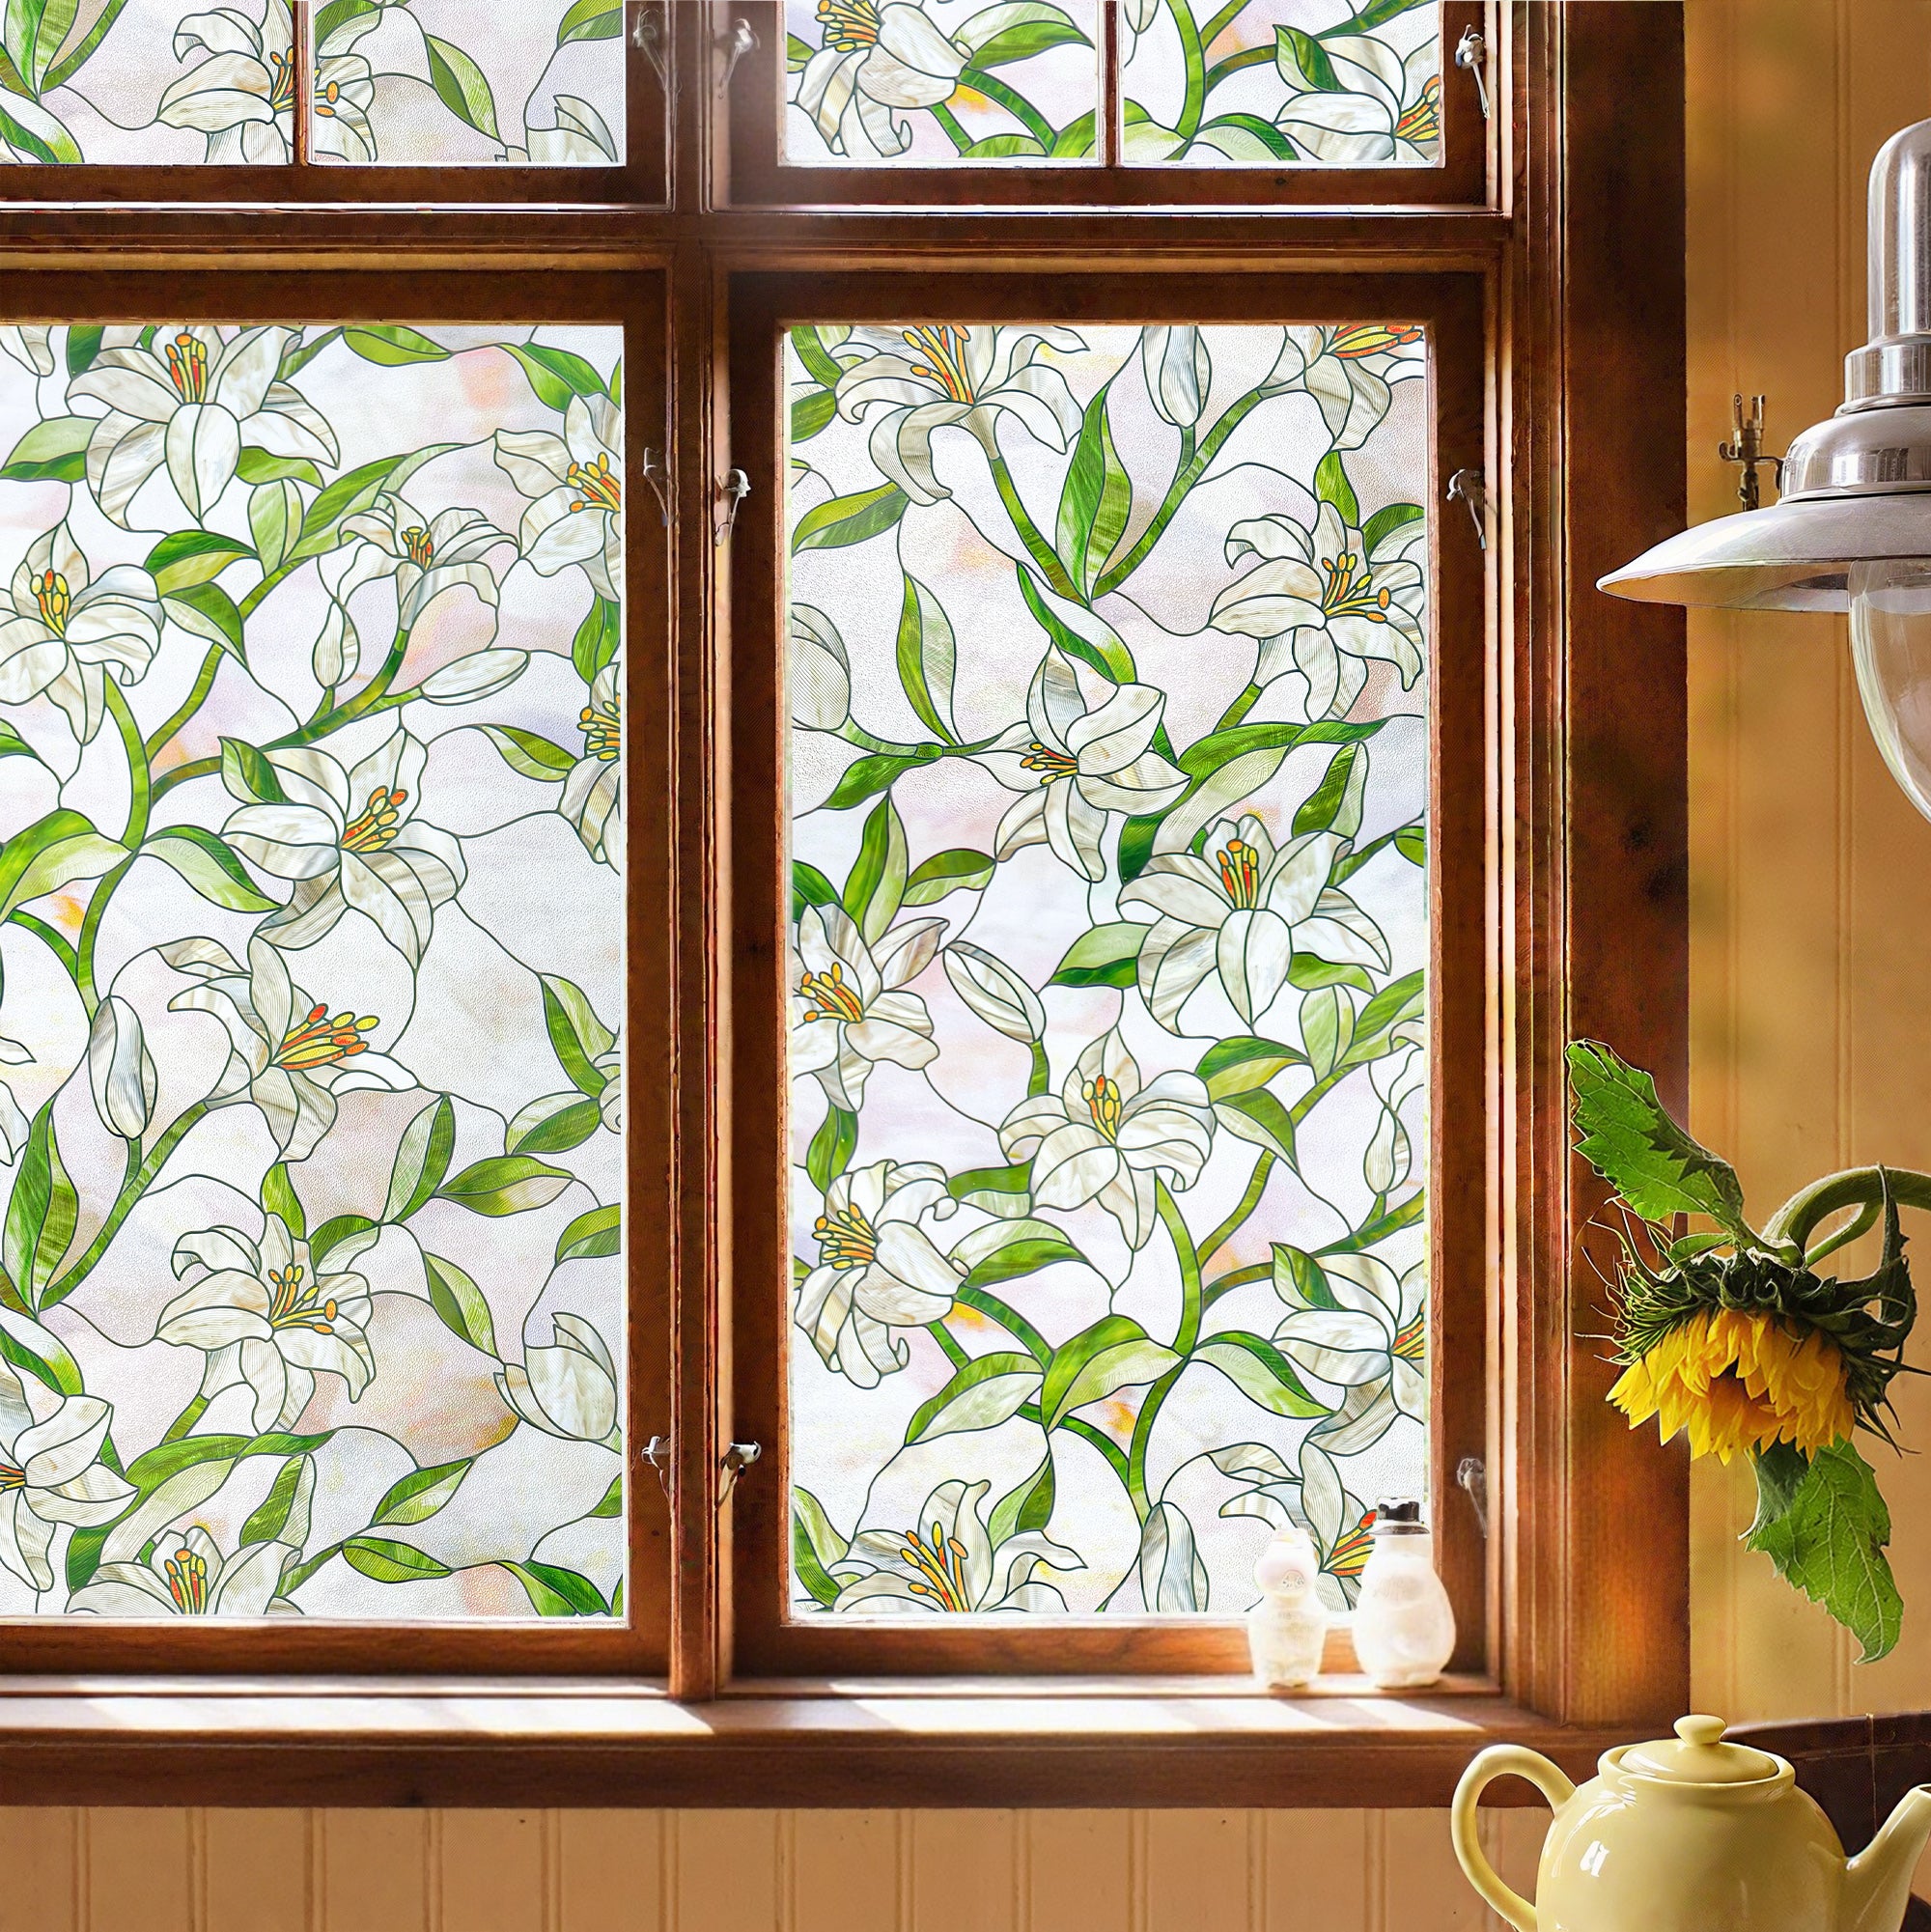
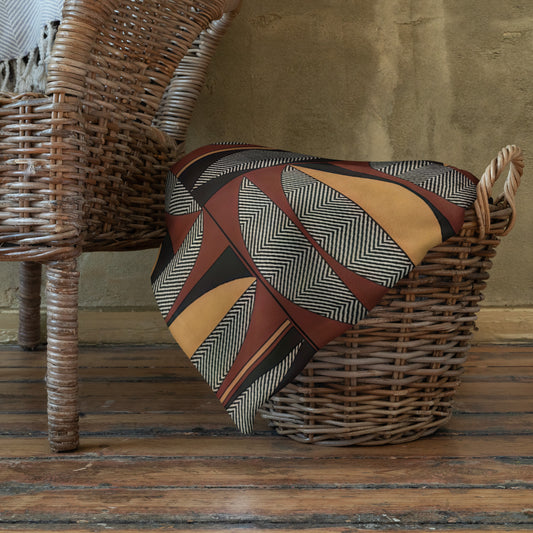
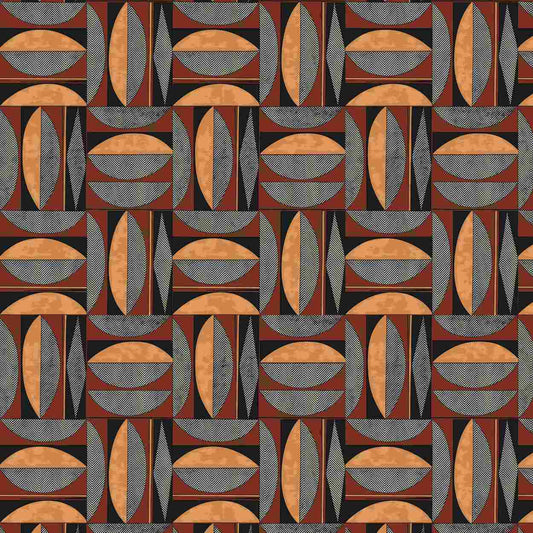
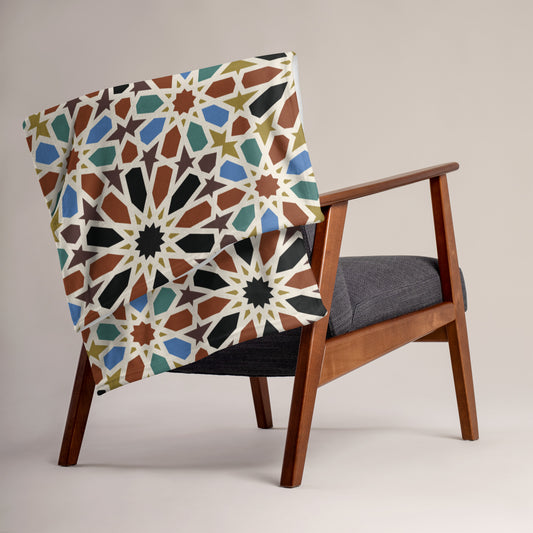
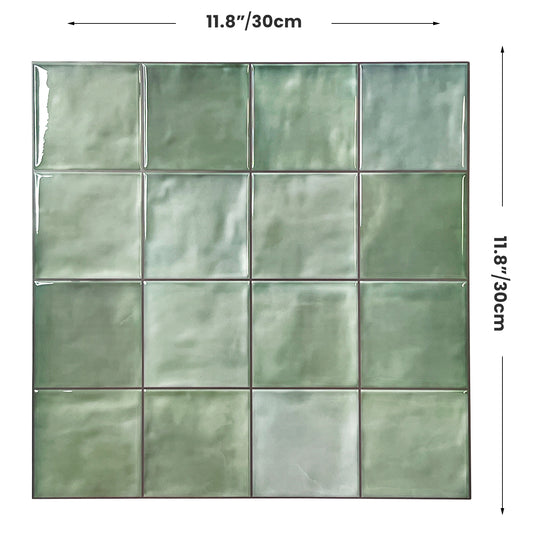
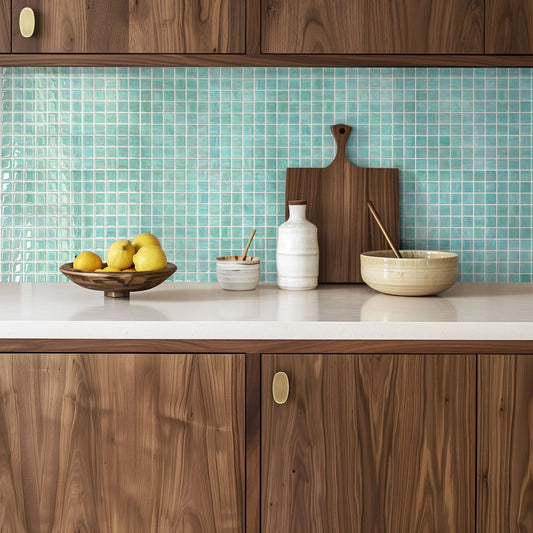
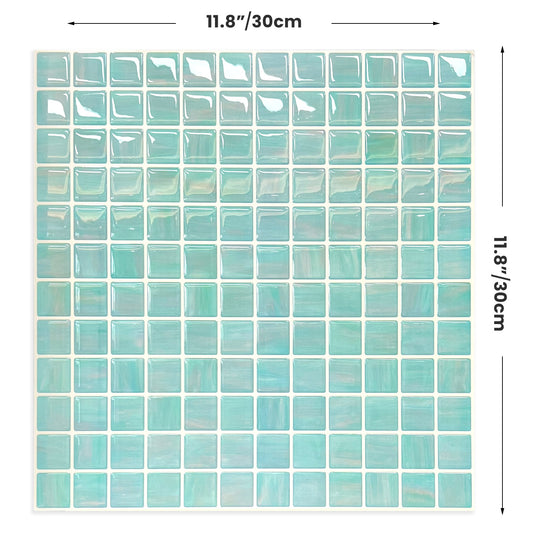
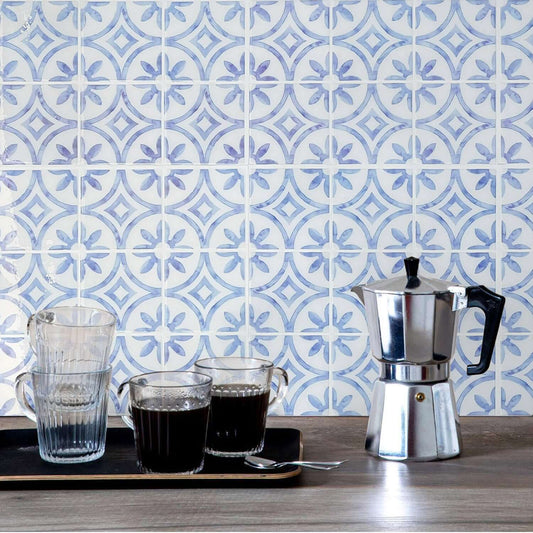
Wall coverings are also known as wallpaper. They are a dynamic way to decorate any space be it an office, restaurant, spa, or home. You can use them to add color, texture, depth, width, or decor theme to a room in a few steps and a pocket-friendly budget.

Installing wallpaper is fairly easy as it does not require any complex equipment or niche skills. Still, it is always a plus to begin the process with a few tips to help you have a smooth installation. It beats making avoidable errors and having to start over until you get it right.
So, in that spirit, come along as we share DIY tips on how to install wall coverings and how to maintain them to keep them looking fab.
DIY Wall Covering Installation
Before we discuss tips, let us begin with a quick step-by-step installation guide for better context.
The Prep Process
- Identify the wall where you would like to install covering.
- Measure it so that you know the size of wallpaper that you require for the wall.
- Check to see whether the wall surface is even. Repair any cracks or sand down any uneven parts to create an even wall for the wallpaper to adhere well.
- Clean the wall and let it dry.
- Acquire the wallpaper of your choice, its recommended wallpaper adhesive, an adhesive applicator, and a smoothing tool.
The Installation Process
- Apply the adhesive to the wall.
- Begin installing the wall covering by holding a corner edge of the wallpaper and aligning it to the corner of the wall.
- Press down the wallpaper edge to attach it to the corner.
- Keep aligning and affixing the wallpaper until you have a complete strip from one end of the wall to the other.
- Use the smoothing tool to ensure the wall covering attaches properly and that there are no air bubbles.
- Work your way down the wall aligning, affixing, and smoothing out the wallpaper until you get to the bottom.
- Trim off any hanging edges or excess wallpaper once the wall is covered.
- Use the smoothing tool once more to ensure the wall covering lies evenly across the wall.
Wall Covering Installation Tips
Now that we have a fair idea of how the installation process works, let us look at some tips to ensure you ace it.
Prioritize the Prep Process
Any debris, uneven wall sections, or cracks can make it difficult for your wall covering to attach to the wall as it should. Alternatively, you may face other challenges such as tears or unsightly bumps.
Preparing the wall before installation helps you avoid such issues and makes the process easier. Endeavor to:
- Use putty to fill cracks.
- Clean the wall to remove dirt or grease so that the adhesive can be effective.
- Consider using a primer or lightly standing down your walls if they have a glossy finish. This too helps make the adhesive more effective.
Measure Accurately
Use a proper measuring tool like a steel tape measure to get the dimensions of your wall. Seek an extra set of hands to help you measure if the wall is large.
Proper dimensions ensure you get the right amount of wallpaper for the space. It is, nonetheless, advisable to get a little extra so that you have more to work with if you make any mistakes or for future repairs.
Use Wallpaper Paste Correctly
Wall coverings are made in two types:
- Peel and stick installation wallpapers
- Paste to stick wallpapers
If you prefer not to use wallpaper adhesive, aim for peel-to-stick options. On the other hand, if you choose a paste-to-stick wall covering, be sure to get the right wallpaper paste and not regular adhesive. Apply it to your prepped wall in a thin even layer to avoid blotting, lumps, or overflows.

Figure Out the Patterns Before Installation
Wall coverings have different decorative patterns or images. Take time to figure out the best way to mount the wall covering so that the patterns align correctly or the images sit the right side up.
Aligning patterns can be particularly tricky if you install wallpaper in strips. So, align the strips in the right pattern style on your floor then follow that order as you mount them on the wall.
Work Around Power Outlets, Windows, and Doors
Power outlets need to stay accessible. Therefore, when you are installing wallpaper:
- Install the wall covering as we have highlighted until you get to the edge of the power outlet.
- Align the wall covering with the edge and press down on the covering so that it attaches to the wall along the outlet's edge.
- Use a utility knife to cut the wallpaper along the edge of the power outlet.
- Affix the wallpaper along another edge of the outlet and cut again. Repeat this until you cut out the shape of the outlet.
Consider using strips of wallpaper when working around windows and doors. it
- Affix the wallpaper until you get to the edge of the window or the door.
- Cut the wallpaper from the ceiling point to the floor along the edge of the door or window.
- Measure any spaces left above or below the windows/doors and use wallpaper strips to cover them.
Tips on Maintaining Wall Coverings
Consider the Material
Check what type of paper your wall coverings are made to understand the best way to clean them. The manufacturer will likely indicate this on the packaging but if not, be sure to ask about this as you buy your wall coverings.
Cleaning Vinyl vs Non-Vinyl Wall Coverings
Vinyl wall coverings have a plastic-ish feel because they are coated with vinyl for durability and easy cleaning. You can use a soft cloth or sponge dampened with mild soap, and warm water to clean such wall coverings.
Non-vinyl wall coverings are more sensitive as they are mostly made using tough paper and no coating. Consider wiping them down with a dry cleaning sponge or a cloth with very little moisture.
It is advisable to do a first wipe-down and then a second to 'rinse' or wipe off any residual dirt.
Handling Repairs
Wall coverings may tear or rise off the wall after some time. You can:
- Fix small tears by applying adhesive to reattach them.
- Fix larger tears by cutting out that section and replacing it with a fresh strip.
- Reapplying adhesive to re-attach any sections that peel off the wall.
Conclusion
At the end of the day, enjoying wallpaper in your space comes down to two things; choosing quality wallpaper that is easy to clean and installing it correctly. We hope the tips in this blog help you navigate both the installation and maintenance processes with ease. As for obtaining quality wall coverings, look no further, our collection offers endless design options made using premium quality materials. Reach out to us for a quote at any time.

