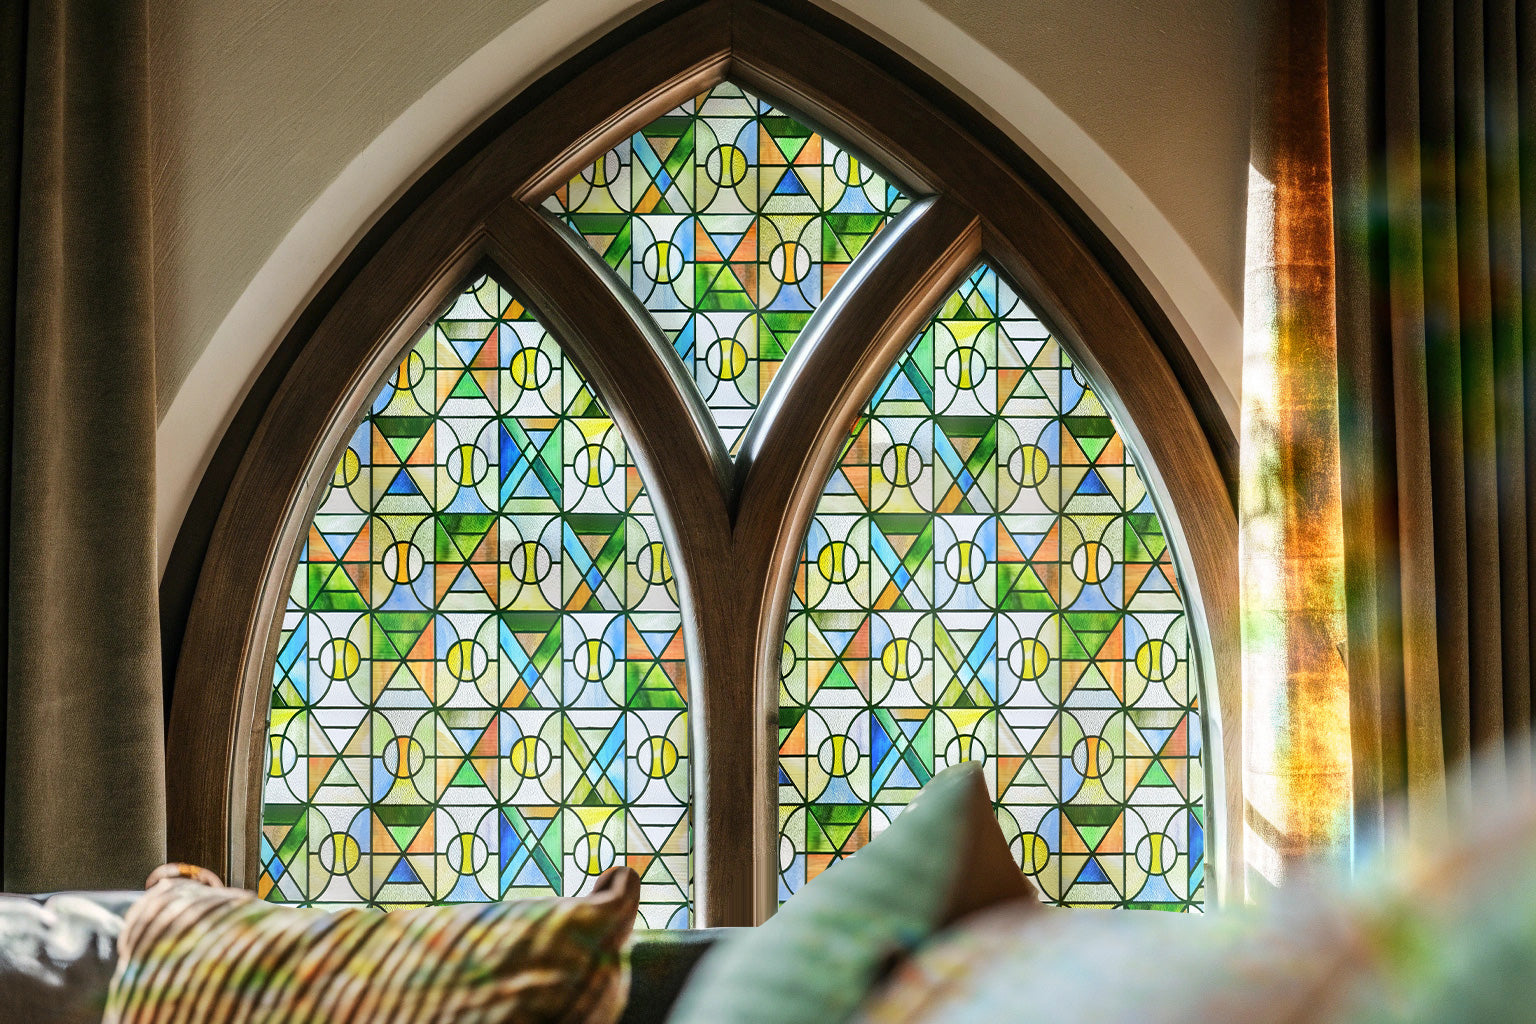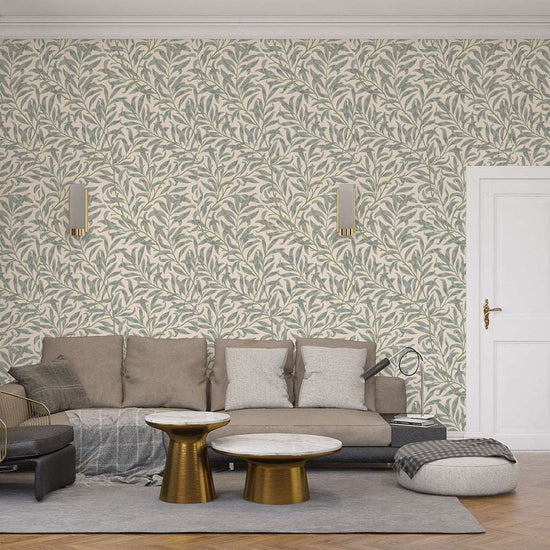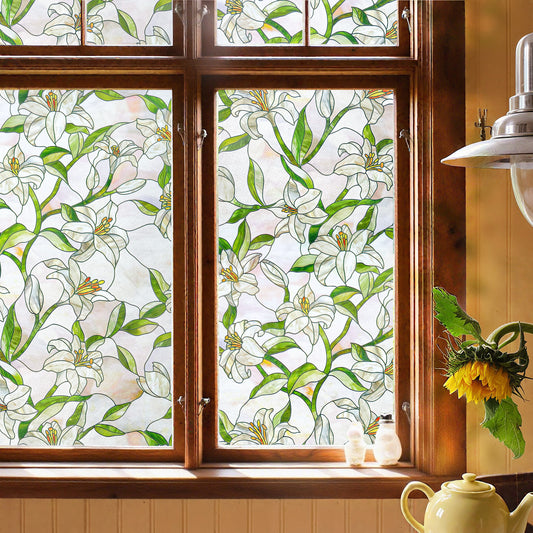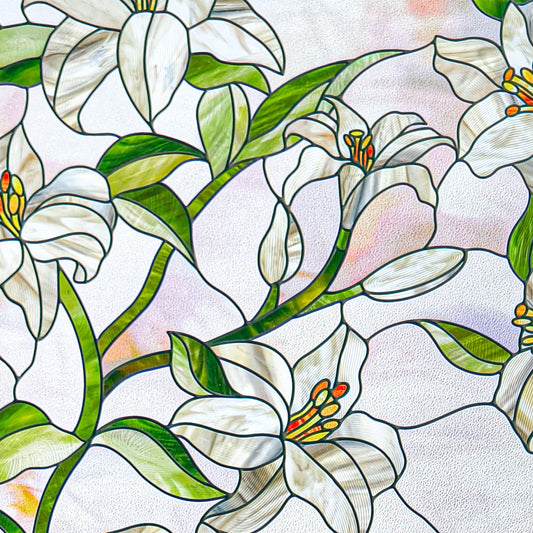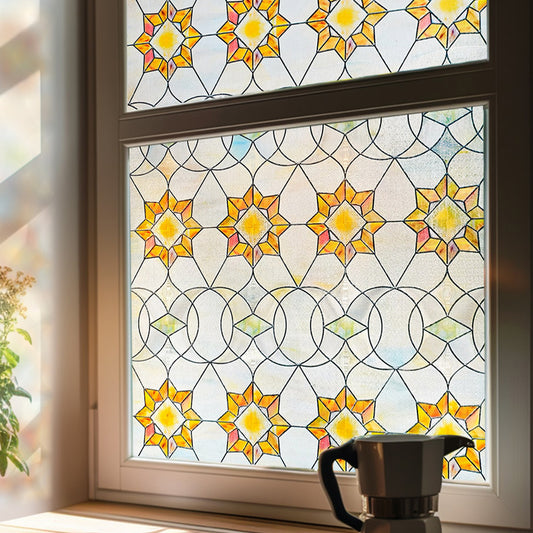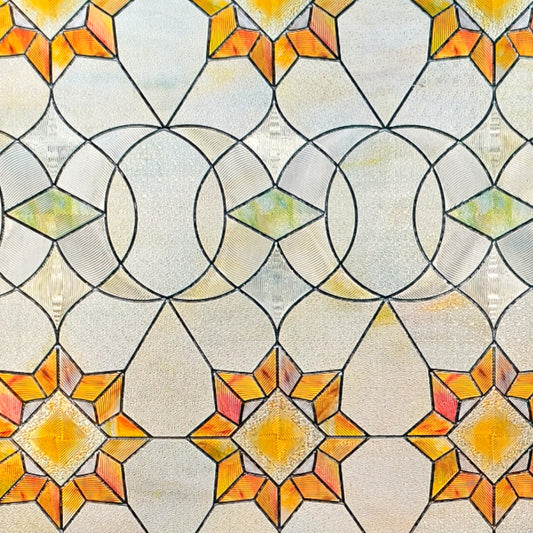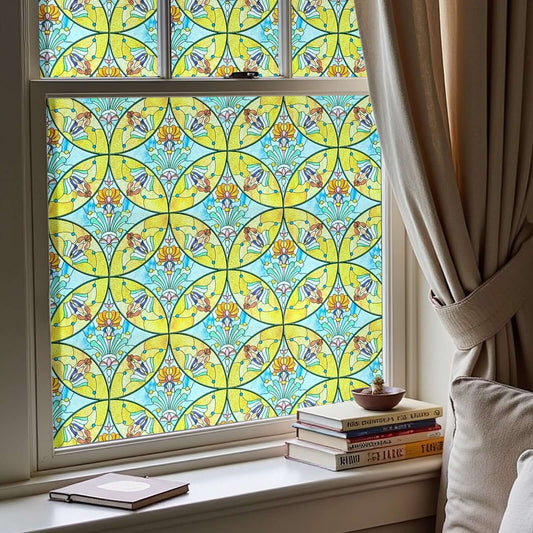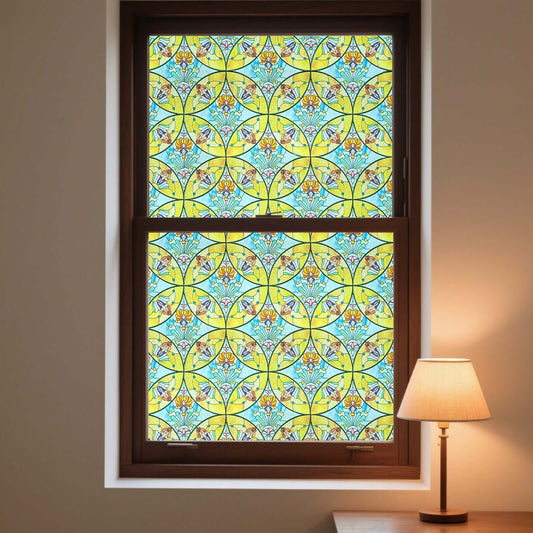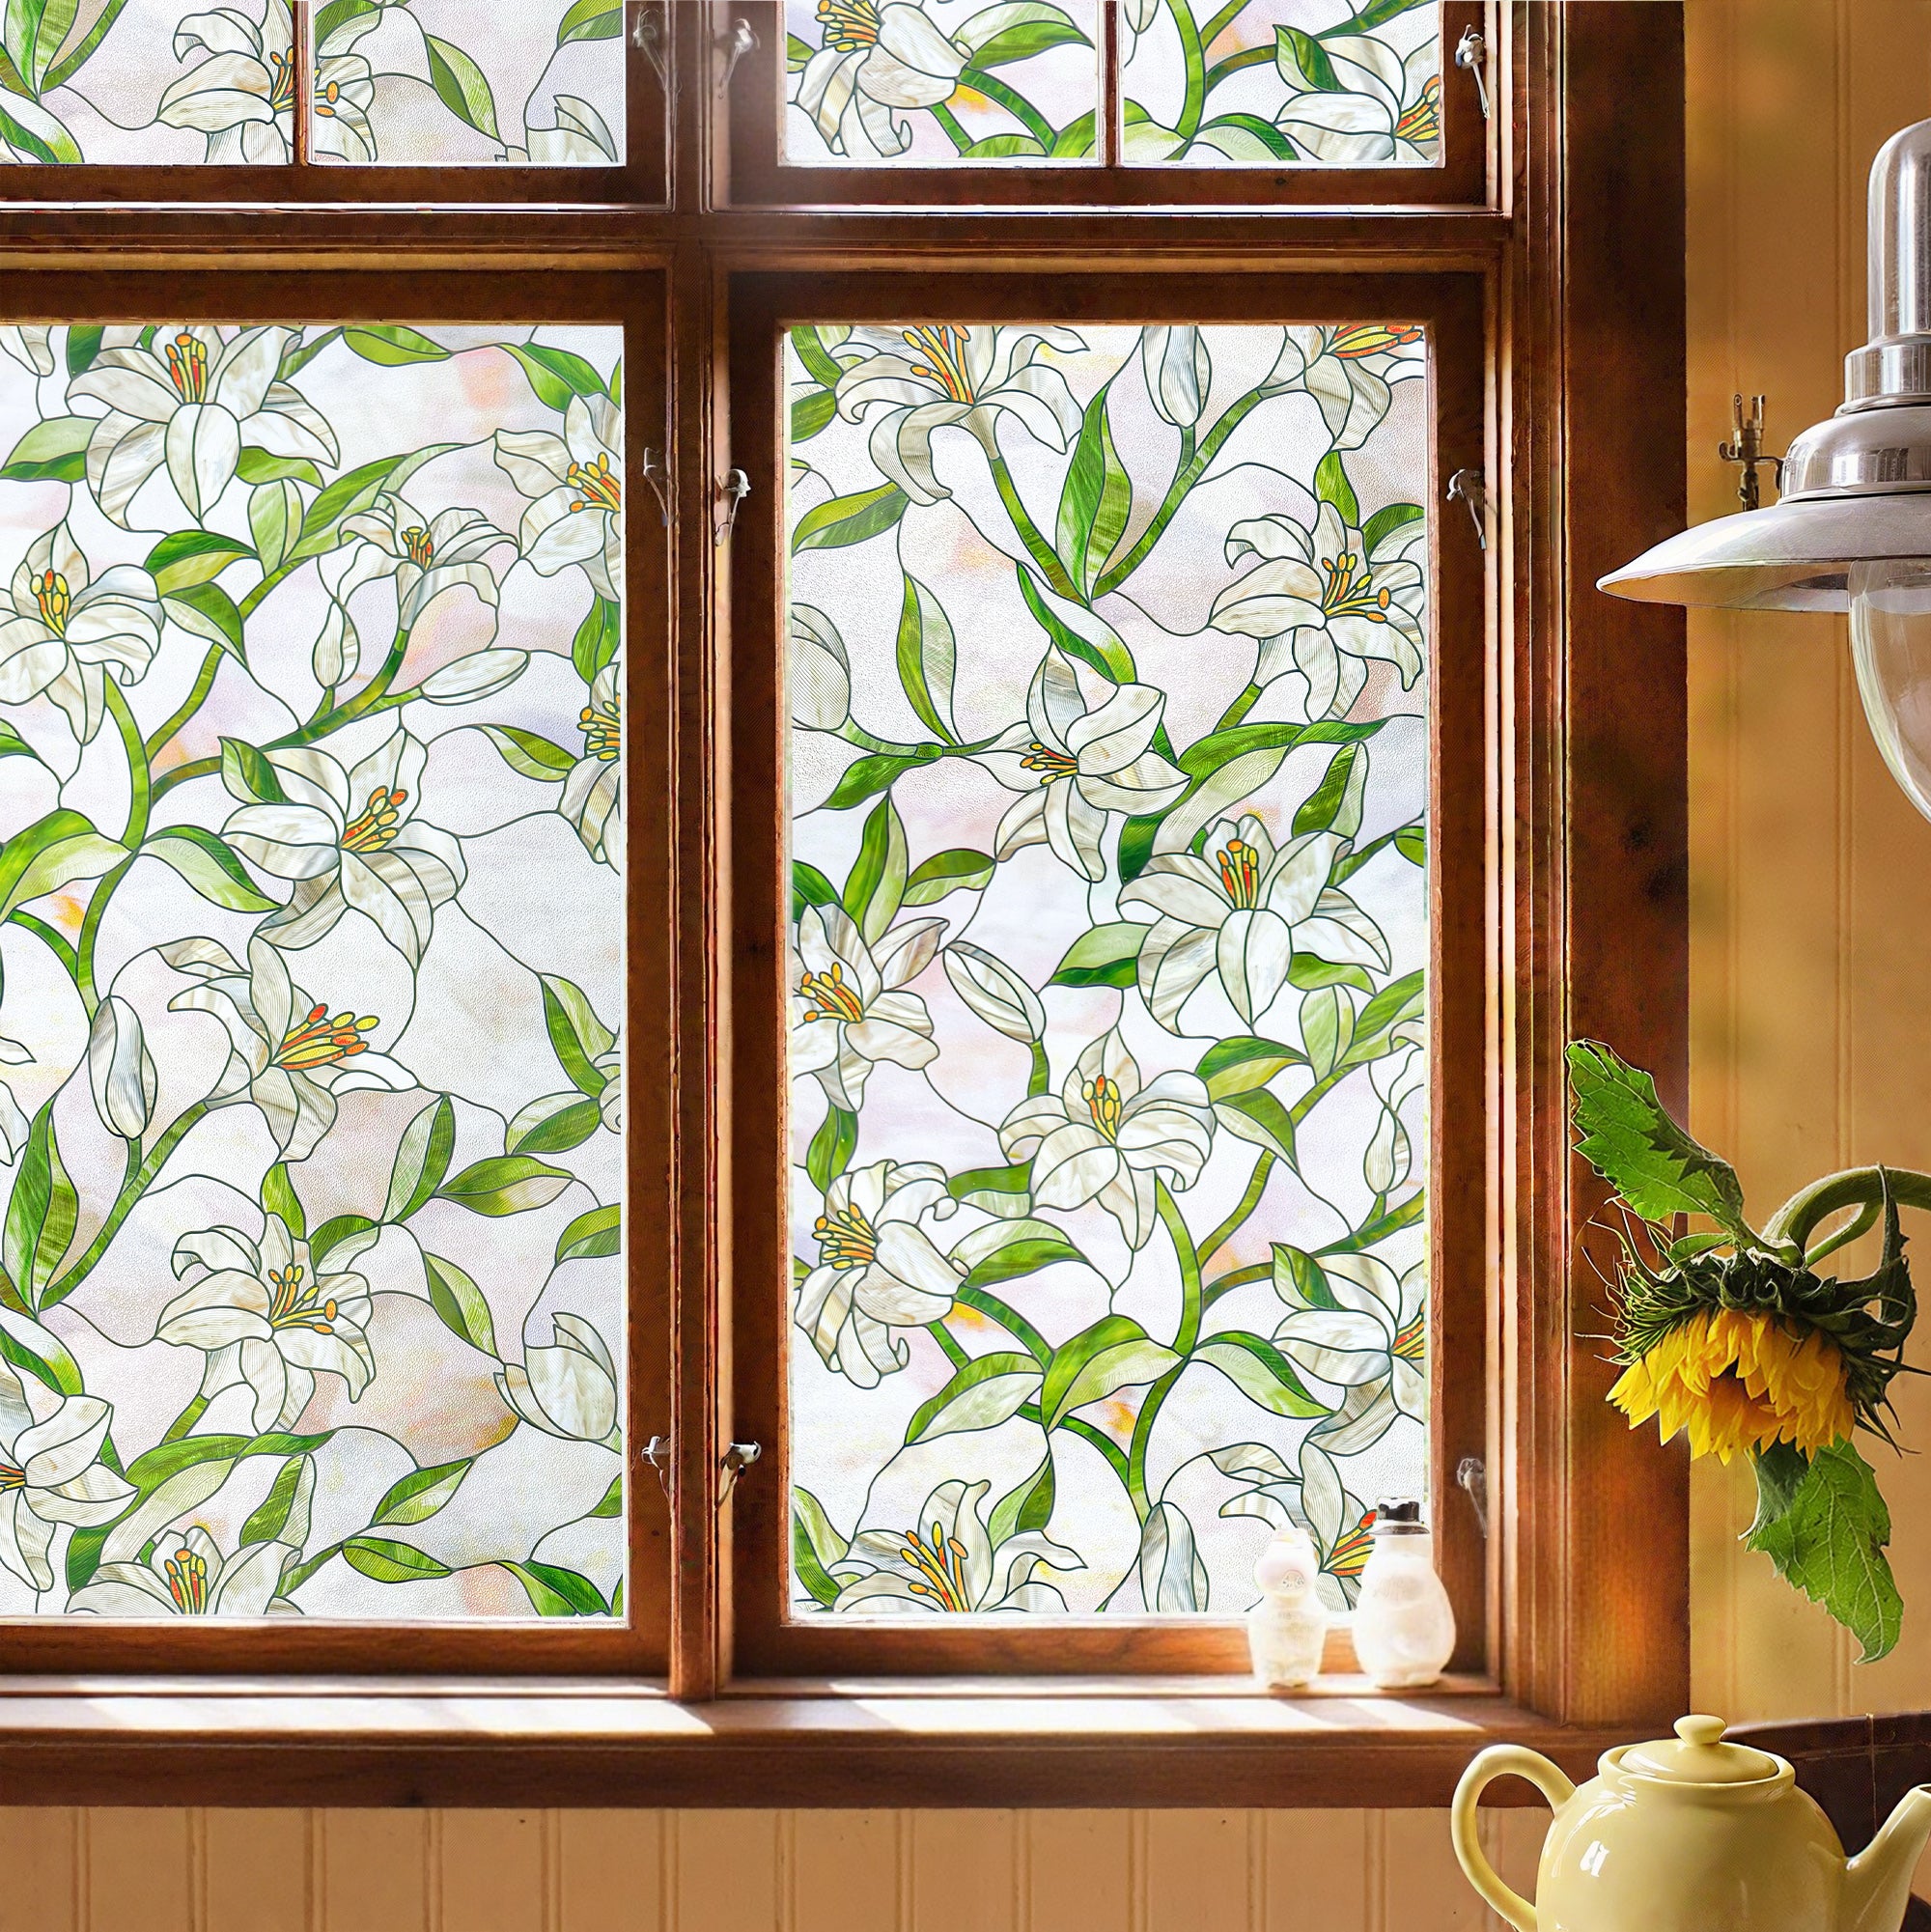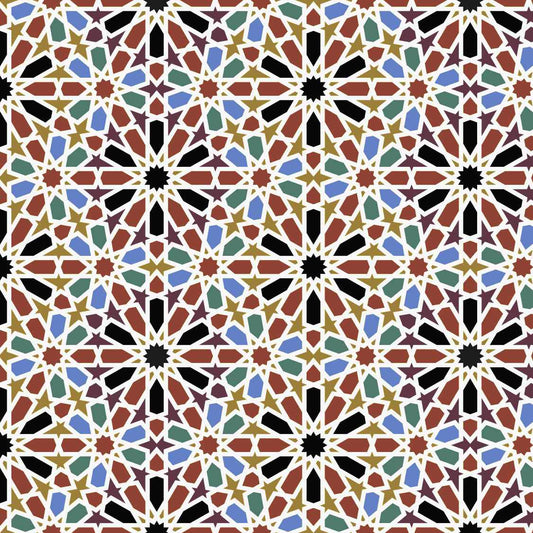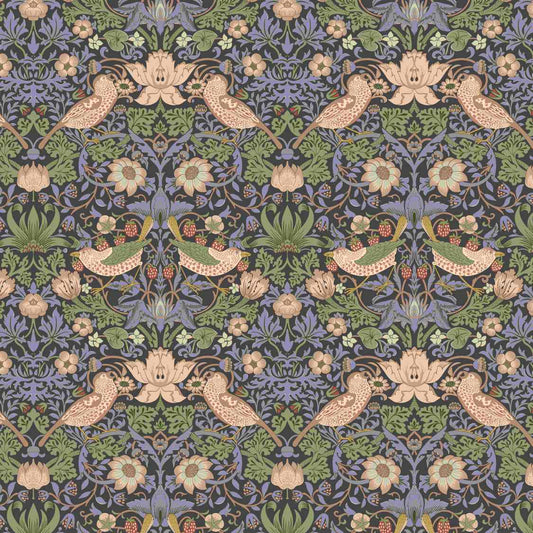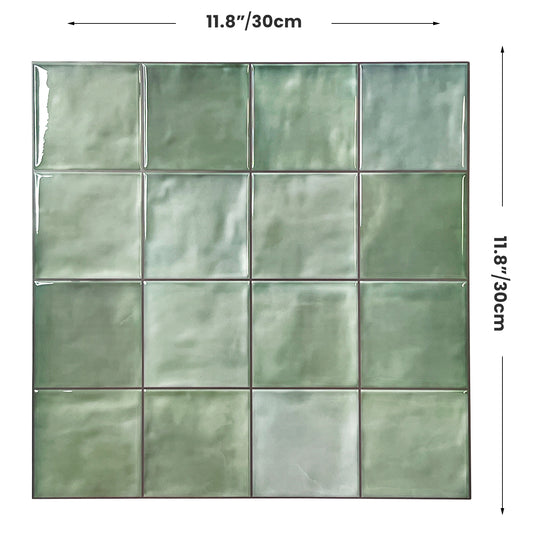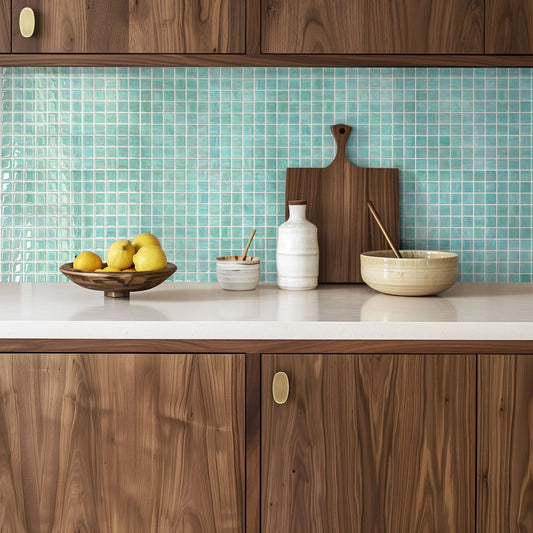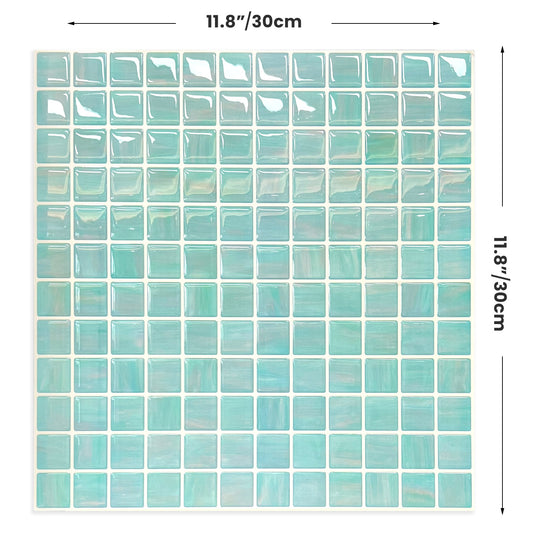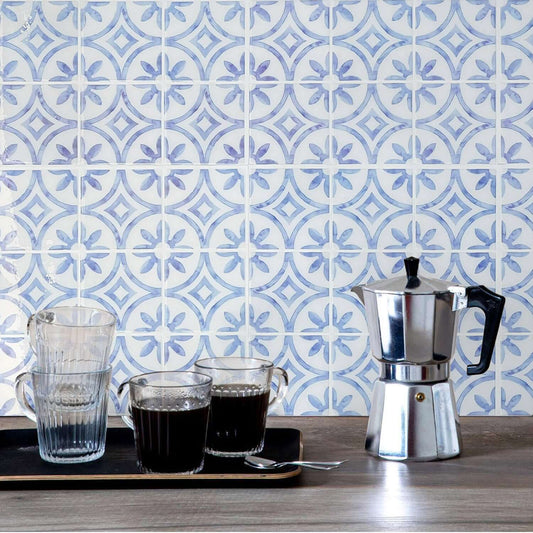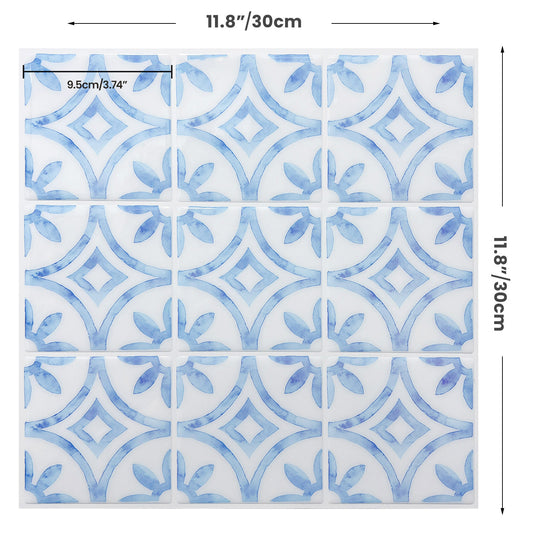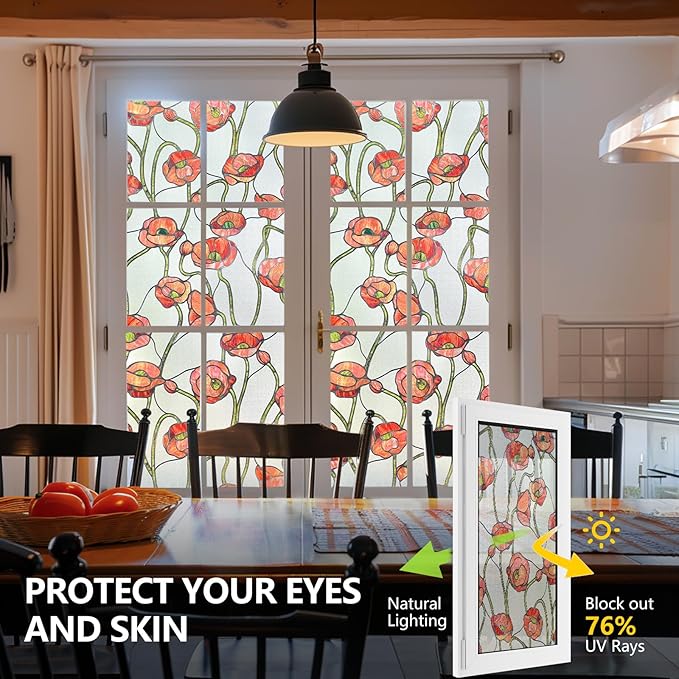
Stained glass window films have gained popularity for their unique ability to combine art, functionality, and ease of installation. Whether you want to add some artistic flair to your home or create extra privacy, stained glass window films are a great choice. They’re an affordable, DIY-friendly way to refresh your windows and make a stylish statement. Here’s a guide on how to choose, install, and style your own stained glass window film for a beautiful, custom look in any space.
Why Choose Stained Glass Window Film?
Stained glass films are an excellent choice for those looking to add beauty and practicality to their interiors. These films are available in a range of colors, patterns, and levels of transparency. They allow you to find the perfect match for your decor style. They also help diffuse sunlight, reduce glare, and offer privacy while allowing natural light to brighten the room.
If you’ve been curious about trying window film but feel a bit nervous about the effort, don’t worry. This DIY guide will walk you through each step — from prep work to fun design ideas — so you can dive in with confidence.

Step 1: Prepping for Installation
Before diving into the installation, you'll need to make some preparations to ensure a smooth, successful project. Here’s what to do:
1. Choose the Right Film for Your Space
Start by exploring the wide variety of stained glass window films available.
Consider the overall design style of the room. Decide on the effect you want to achieve — whether it’s a vibrant pop of color, a subtle frosted finish, or an elegant floral or geometric pattern.
Also, consider the level of privacy you need. Some window films are more see-through than others, so choose one that fits your needs and your space.
2. Measure Your Windows

Accurate measurements are crucial to ensure your film fits the window perfectly. Use a measuring tape to get the exact height and width of the window surface where you’ll apply the film. Add about 1/2 inch to each measurement to allow for adjustments as you install the film.
3. Gather Your Tools

You’ll need a few basic tools for this project, most of which you likely already have at home:
- Measuring tape
- Utility knife or scissors
- Squeegee or a flat plastic card
- Spray bottle filled with water (you can add a few drops of liquid soap)
- Soft cloth or paper towels for cleaning
Step 2: Installing the Stained Glass Window Film
Now that you’re prepared, it’s time to begin the installation. Here’s a step-by-step breakdown:
1. Clean the Window Surface

A clean window is essential for a smooth finish. Use glass cleaner or a mixture of mild soap and water to remove dust, dirt, and any smudges. Wipe down the surface thoroughly with a soft cloth and let it dry completely before proceeding.
2. Cut the Film to Size

Use your measurements to cut the window film to size, but leave a small margin (about 1/2 inch) around the edges. This will make it easier to align the film and make adjustments during the installation.
3. Spray the Window with Soapy Water


Using the spray bottle, mist the window with a generous amount of water mixed with a few drops of liquid soap. The water layer will allow you to move and adjust the film once it’s placed on the glass.
4. Apply the Film to the Window

Peel off the backing of the film and carefully place it onto the wet window surface, aligning it with the window edges. The soapy water will help you slide and reposition the film until it’s in the perfect spot.
5. Smooth Out Air Bubbles

Use a squeegee or a flat plastic card to gently push out any air bubbles, starting from the center and moving toward the edges. This step is key to achieving a smooth, professional look. Keep wiping off excess water with a soft cloth as you work.

Step 3: Creative Styling Ideas
Once your stained glass window film is installed, you can add creative touches to personalize your space further. Here are a few styling ideas to consider:
1. Mix and Match Patterns
If you’re feeling adventurous, try combining different patterns and colors. For example, try mixing a floral pattern with a geometric design for a unique, eye-catching look. You can also play with complementary colors to create a soft gradient effect that adds depth and character to the room.
2. Use Color Blocking
Choose a few different colors of stained glass film and apply them in color blocks for a bold, modern look. This technique works especially well for spaces with large, uninterrupted windows and can add a pop of color that transforms the room.
3. Apply Film to Cabinet Doors
Window film isn’t just for windows! Consider applying stained glass film to glass cabinet doors in your kitchen or bathroom for an unexpected decorative touch. This adds privacy for stored items while bringing extra color and texture to your cabinets.

Maintenance Tips
To keep your stained glass window film looking fresh, a few maintenance tips can go a long way:
- Gentle Cleaning:Use a soft, damp cloth to clean the film surface. Avoid abrasive cleaners or tools, as these can scratch the film.
- Avoid Scratching:Be mindful of sharp or rough objects that might scrape the film. Handle with care to extend its longevity.
- Reposition or Replace if Needed:Over time, you might find you want to change up your look or replace damaged sections. Most films are easy to remove and replace, making it a versatile choice for evolving styles.
Conclusion
Adding stained glass window film is an easy yet transformative DIY project that anyone can accomplish. It doesn’t just add style and privacy — it also lets you get creative and make your space feel truly your own. From modern patterns to classic designs, stained glass window film is a simple, practical way to give your interior a fresh new look.
So, grab your tools, get creative, and enjoy the satisfaction of creating a beautiful, custom space with stained glass window film!

