


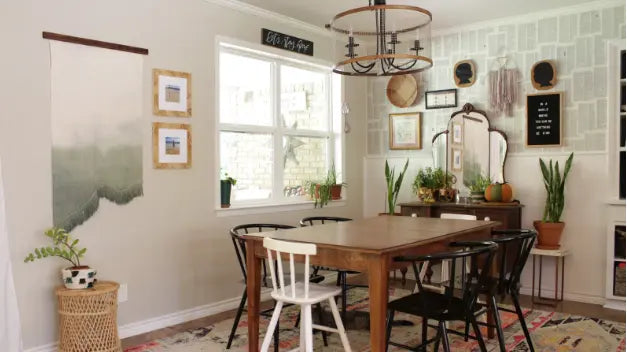
Blankets are not just for warmth. They can also be a beautiful piece of wall art. A decorative blanket adds color, texture, and personality to your space. It is an easy and budget-friendly way to refresh your home without buying expensive artwork.
In this guide, we’ll share a method to turn your blanket into an artistic wall tapestry, ensuring it becomes a central piece of your home decor. Read on to learn how to hang a wall tapestry.
Why Use a Blanket as Wall Art
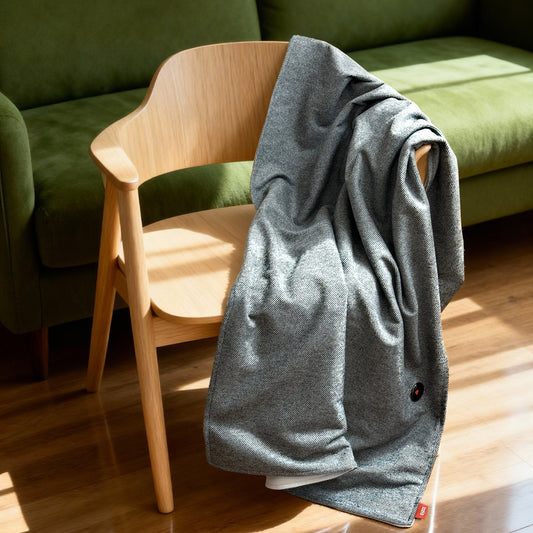
Turning a blanket into wall art is simple and effective. A blanket can instantly transform an empty wall into a cozy focal point. You don't have to buy a new one, an old, unused blanket also can bring your home a fresh look.
Using a blanket as wall art has many benefits:
- Adds texture and warmth to your space
- Covers large empty walls easily
- Gives old or meaningful blankets a second life
- Works with different decor styles, from boho to modern
A blanket wall art is not only practical but also a creative way to show personality.
How to Choose the Right Blanket
Not every blanket works well as wall art. You need to consider the material, design, size, and style.
Lightweight blankets are easy to hang, while heavy blankets make a bold statement but need stronger support. Patterns and colors help the blanket stand out. Make sure the blanket fits the wall space without looking too small or too crowded.
Here are some tips for choosing the right blanket:
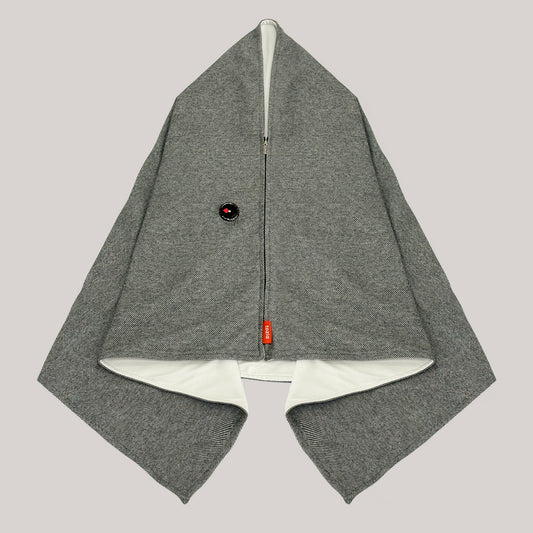
1. Material: Lightweight fabrics are easier to hang; heavier fabrics need sturdy support. Here are some common materials.
- Cotton: Soft and breathable. Cotton blankets are lightweight. They hang easily and drape nicely. Perfect for casual or minimalist style.
- Wool: Thick and warm. Wool blankets add texture and depth. They are heavy. It is better to use strong nails, hooks, or a rod to hang safely.
- Fleece: Soft and lightweight. Fleece blankets are easy to handle and they hold colors well. Great for bold patterns and bright designs.
- Knitted or Crocheted Blankets: Textured and decorative. Shapes may be irregular. It is important to add extra support points along the top edge.
- Velvet or Plush: Heavy and luxurious. These blankets make a dramatic wall display. It is necessary to use a strong rod or multiple hooks for support.
2.Design: Bold patterns, bright colors, or unique textures look best.
3.Size: The blanket should match the size of your wall.
4.Style Match: Make sure the blanket fits your room’s decor and color palette.
Choosing the right blanket ensures your wall art looks intentional and stylish.
![]()
Understand Your Wall
Before choosing the hanging options, it is important to know your wall.
- Drywall: Drywall is common in most homes. The best way to hang blankets on drywall is by using nails, hooks, or strong adhesive strips. For heavier blankets, make sure to locate a stud for extra support.
- Plaster Walls: Older homes often have plaster walls. When hanging blankets on plaster walls, use gentle hooks or nails to avoid damage. If you need to drill, do so carefully to prevent cracking.
- Brick or Concrete Walls: Brick and concrete walls are strong and sturdy. To hang blankets on brick or concrete, use masonry screws or anchors. Adhesive strips usually do not work on these surfaces.
- Tile or Glass Walls: Smooth surfaces like tile or glass require special care. The best way to hang blankets on tile or glass walls is by using heavy-duty adhesive hooks or rods with suction cups. Avoid drilling whenever possible to protect the surface.
- Wood Paneling: Wood paneling is easy to work with. You can hang blankets using nails, screws, or hooks. Make sure the paneling is thick enough to hold the weight of your blanket securely.
Hanging Options
Hanging a blanket is easier than you might think. With a few simple steps, your blanket can become an eye-catching piece of wall art.
Option 1: Using Hammer and Nails
Step 1: Gather Your Supplies
You will need your blanket, a hammer and two nails.
Step 2: Placing the First Nail
Start by choosing the top corner of your blanket. Hold a nail in place and gently hammer it into the wall. Make sure enough of the nail is exposed to support the blanket securely.
Step 3: Align and Secure the Tapestry
Unfold the blanket and move the opposite top corner to where you want it to hang. Check that both corners are level so the blanket will hang straight.
Step 4: Installing the Second Nail
When you’re happy with the blanket’s position, secure the other top corner with a second nail. Adjust the blanket so it hangs evenly and looks smooth on the wall.
![]()
Option 2: Using Adhesive Hook
If you don't want to damage your wall, using adhesive hooks is the best way. The only tools you need are 3M Command strips or other types of adhesive hooks.
Step 1: Prepare Your Blanket
Decide which way you want your blanket to hang. Make sure the pattern or design faces the right direction.
Step 2: Attach the First Command Strip
Choose one of the top corners of your blanket. Remove the backing from one side of a Command strip and press it firmly onto the wall. Make sure it aligns with the corner of the blanket so it will hang straight.
Step 3: Secure the Blanket to the Wall
Peel off the remaining backing from the Command strip to expose the adhesive. Align the top corner of the blanket with the strip and press firmly. For heavier blankets, you can add more Command strips along the top edge to distribute the weight evenly and prevent sagging.
Step 4: Attach the Second Corner
Repeat the same process for the other top corner of the blanket. Check that both corners are level and aligned with each other. This will ensure your blanket hangs straight and looks polished on the wall.
![]()
To keep your blanket wall art looking great, it’s important to maintain it properly.
- Dust it gently with a soft brush every few weeks.
- Avoid direct sunlight to prevent colors from fading.
- Follow the washing instructions on the care label if cleaning is needed.
Turning a blanket into wall art is a simple way to add style and warmth to any room. With the right blanket, proper hanging, and thoughtful styling, you can create a cozy and artistic focal point. Try this DIY project and enjoy your unique blanket wall art today!
