


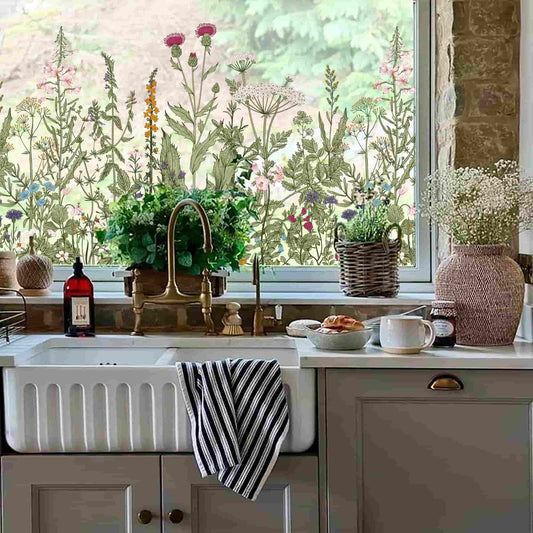

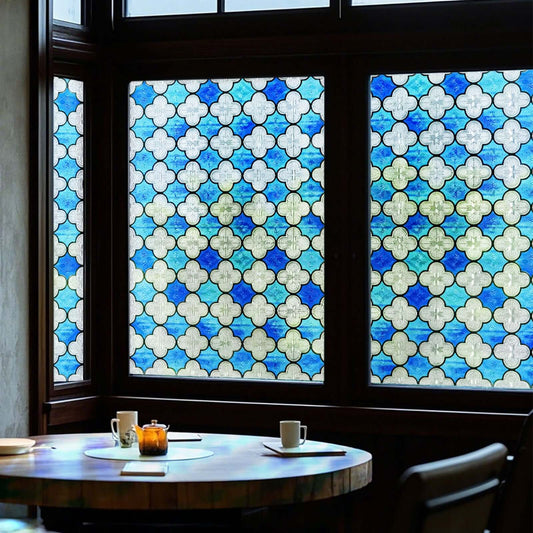
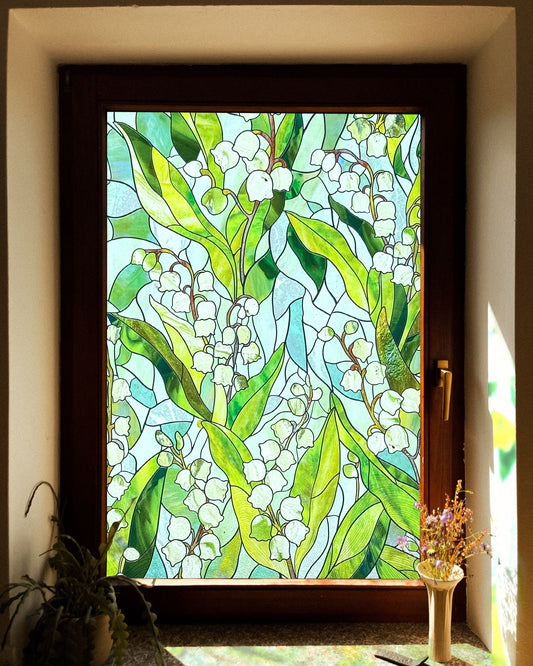

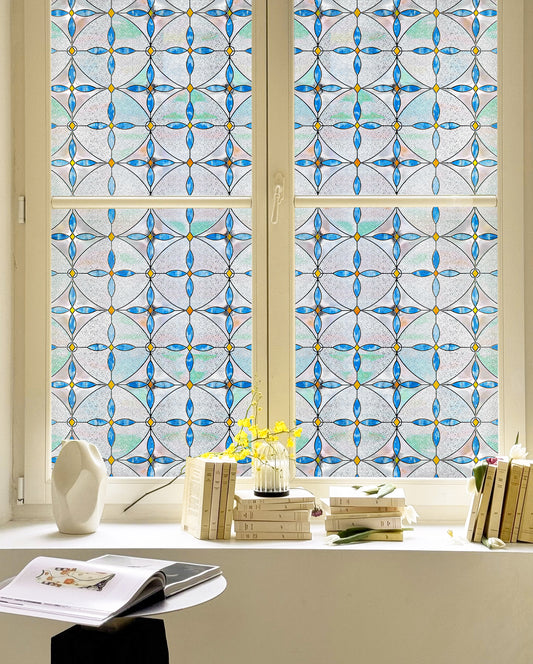
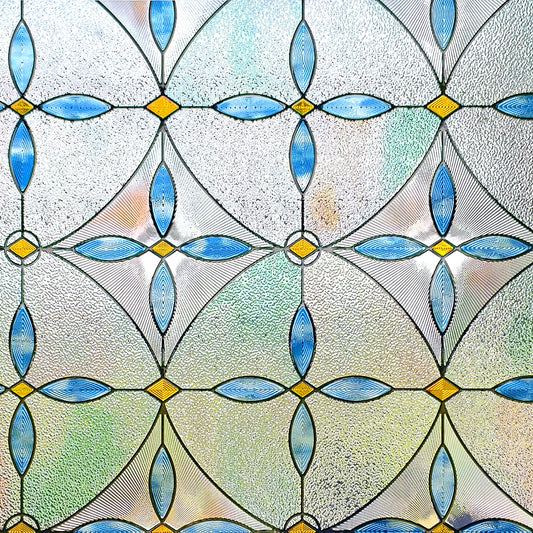


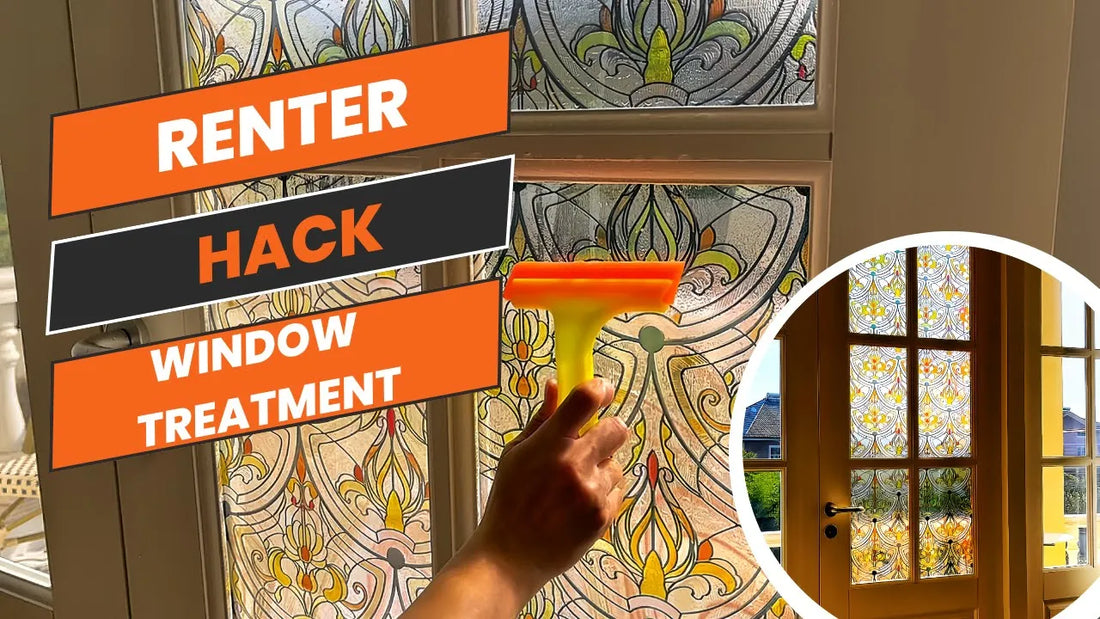
How to Install Stained Glass Window Film
Looking to add style, privacy, or color to your windows? Installing a stained glass window film is an easy and affordable DIY upgrade that transforms plain glass into a decorative feature.
What You’ll Need
Stained glass window film
Spray bottle (filled with water + 1 drop dish soap)
Plastic squeegee or an old credit card
Utility knife or precision blade
Lint-free cloth or microfiber towel
1. Clean & Measure
Start by cleaning the window thoroughly with a non-ammonia glass cleaner. Avoid products that contain vinegar or harsh chemicals.
Then measure the glass surface and cut your stained glass window film approximately 1 inch larger on each side. This extra space will make alignment easier.
2. Mist the Surface & Peel the Backing
Generously spray the glass with your soapy water solution to keep the surface slick. Begin peeling a corner of the film backing.
Tip: Lightly mist the back of the film too—this helps reduce curling and allows easier handling during installation.
3. Apply the Film
Place the film onto the wet glass, starting from the top center or one side. The wet surface allows the stained glass window film to glide and reposition easily before it sticks.
4. Smooth Out Bubbles
Using a squeegee, gently but firmly press out air bubbles and water, working from the center outward. Take your time and re-mist if needed to reduce friction while smoothing.
5. Trim the Edges
Once the film is in place and bubble-free, use a utility knife to carefully trim the edges, aligning with the window frame.
You can refer to the following video to learn the installation steps and tips, helping you complete the process with ease.
How to Install Solar Control Window Film
Whether you're reducing heat, blocking UV rays, or adding a star-sky effect, installing a solar control window film can help transform your space with function and style.
What You’ll Need
Solar control window film
Spray bottle with soapy water
Squeegee or credit card
Utility knife
Optional: suction cups (for larger sheets)
1. Choose the Right Film
Select a solar control window film that suits your needs: some provide UV protection, some reduce glare, and decorative options like starry sky solar film add visual flair.
2. Clean the Glass Surface
Make sure the window or skylight is spotless. Remove all dust, grease, and fingerprints using a mild cleaner and lint-free cloth. Any debris can create air pockets.
3. Wet & Peel
Spray both the glass surface and the adhesive side of the film with soapy water. Carefully begin peeling off the backing, exposing the cling side.
4. Apply from Top to Bottom
Align the top of the film with the top edge of the window and gently lay it down onto the wet glass, allowing it to float into place.
5. Smooth It Out
With a plastic squeegee, remove excess water and air bubbles by pressing from the center outward. Mist the surface as needed to prevent dragging or tearing.
6. Trim & Let It Cure
Trim the edges neatly using a utility knife. Allow the solar window film to cure for 4–8 days, avoiding any harsh cleaning during this period.
You can refer to the following video to learn the installation steps and tips, helping you complete the process with ease.
https://www.instagram.com/reel/Cwgzu80Rm4X/
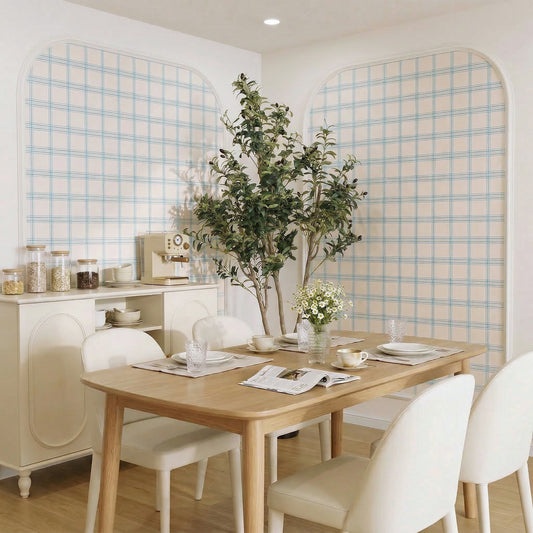
How to Install Peel and Stick Wallpaper
Updating your walls? Peel and stick wallpaper is a renter-friendly, stylish solution that requires no paste, no mess, and minimal tools.
What You’ll Need
Peel and stick wallpaper
Level or laser level
Plastic smoother or wallpaper tool
Utility knife
Measuring tape and pencil
1. Prepare the Wall Surface
Remove wall fixtures, then clean and dry the surface completely. If the wall was recently painted, allow at least 30 days to cure. A smooth, even surface gives the best results.
2. Pre-Cut & Align
Cut each wallpaper strip with an extra 2–3 inches at the top and bottom. Mark a plumb line on the wall using a level—this will keep your first panel straight.
3. Apply the First Strip
Peel off the top portion of the backing paper. Align the strip to the plumb line and press it down, smoothing from top to bottom. Continue peeling and smoothing in sections.
4. Match the Pattern
Align the next strip by overlapping slightly and matching the pattern. Smooth each strip carefully as you go to eliminate bubbles.
5. Trim the Edges
Use a utility knife to trim excess wallpaper at the ceiling, baseboards, and around outlets. For small air bubbles, pop them with a pin and press out gently.
6. Final Touches
If needed, reposition slightly misaligned strips—most peel and stick wallpaper is repositionable during install.
Pro Tip: Let wallpaper rolls unroll flat for an hour before applying—this helps prevent edge curl.
You can refer to the following video to learn the installation steps and tips, helping you complete the process with ease.
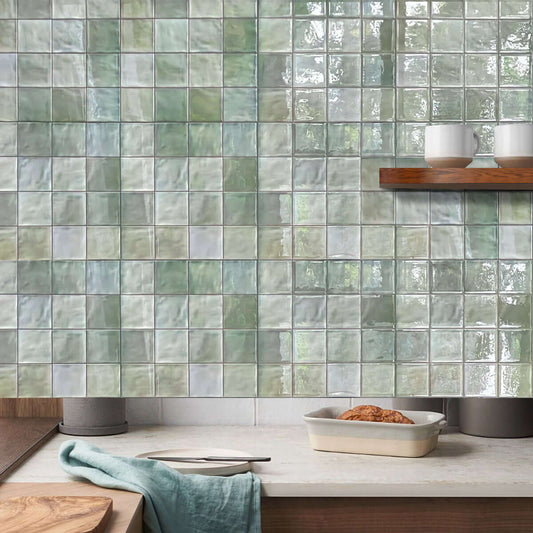
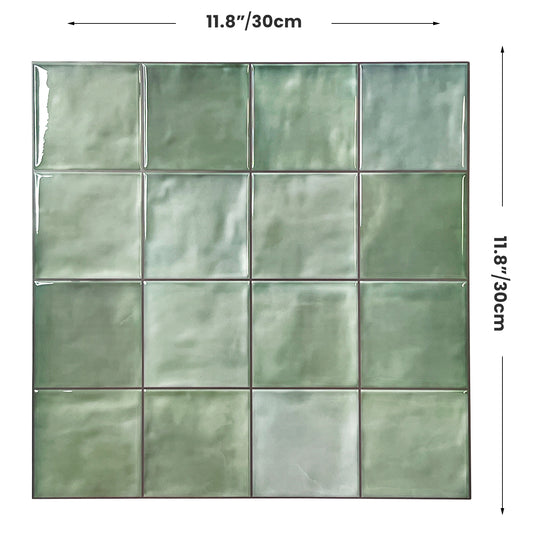
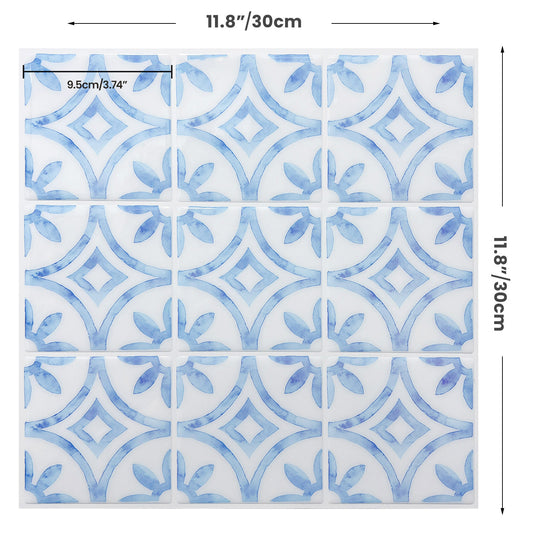
How to Install Peel and Stick Backsplash Tile
Want a budget-friendly upgrade that looks custom? Peel and Stick Backsplash Tile is your go-to solution for walls, backsplashes, or even rental floors.
What You’ll Need
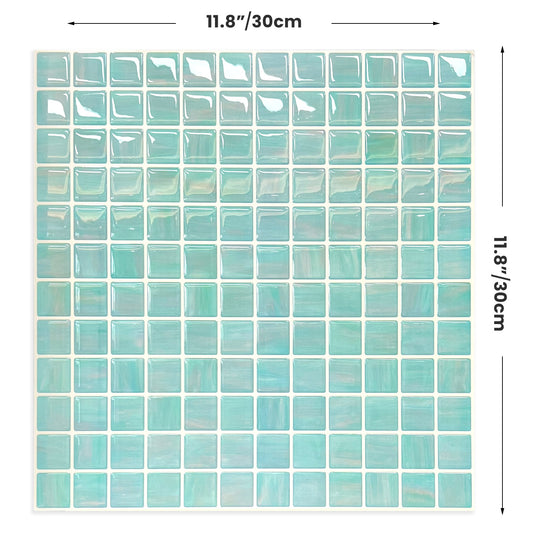
Peel and stick tile decals or backsplash sheets
Measuring tape and ruler
Utility knife or scissors
Sponge or microfiber cloth
1. Prep the Surface
Clean the wall or tile surface thoroughly to remove dust, oil, and soap residue. If covering floor grout, consider painting it first for a cleaner look.
2. Measure and Cut
Measure existing tiles and cut the Peel and Stick Backsplash Tile slightly smaller (~1/8") to avoid overlapping edges. Use templates for tricky corners or around toilets.
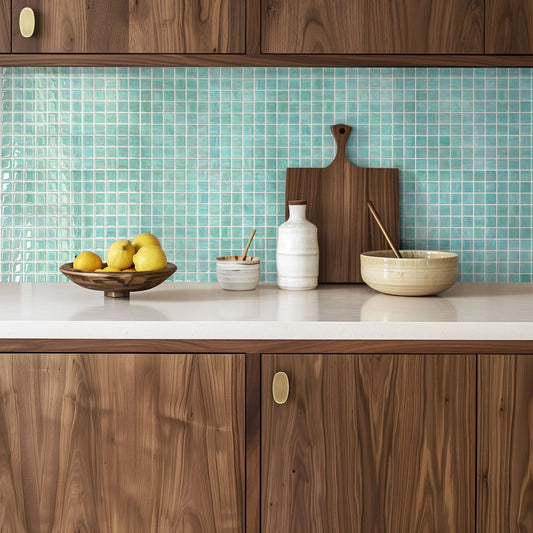
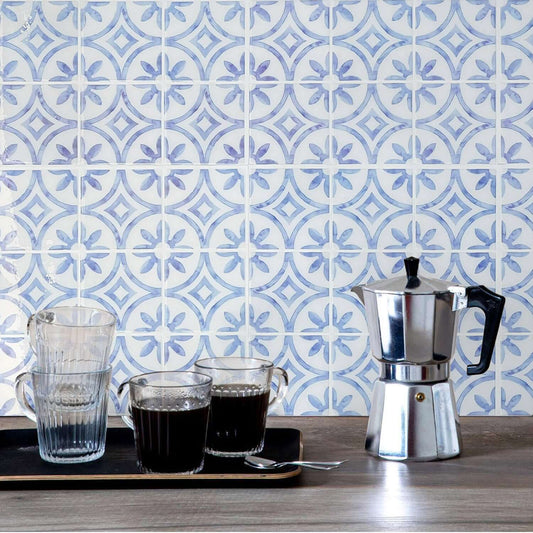
3. Plan the Layout
Do a dry run: lay out the tiles on the floor or countertop to preview placement and patterns. Adjust spacing as needed before peeling.
4. Apply the Tile
Peel off a portion of the backing and stick the tile into place. Use a soft cloth or smoother to press firmly from the center outward, avoiding air bubbles.
5. Trim Around Edges
Use a sharp utility knife to cut around outlets, edges, and corners. Tuck the tile under any trim or molding if possible.
6. Let It Set
Let the tile adhesive set for 24 hours before walking on it or exposing it to moisture. Wait 72 hours before wet cleaning.
You can refer to the following video to learn the installation steps and tips, helping you complete the process with ease.
